 We LOVE nail art, and we especially LOVE when it’s easy! Today’s post is another idea for a professional looking manicure you can do at home. Just like our last nail art post, you don’t even need to click through to see the rest of the instructions, they’re that simple. Here we go!
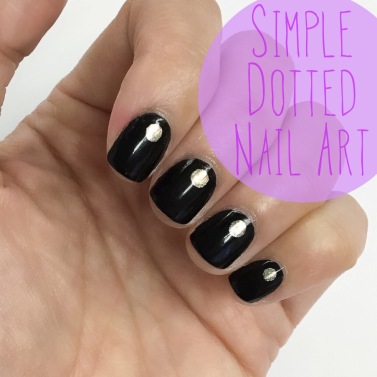
As always, apply a clear base coat and let it dry. Follow with a thin coat of your base color and let that dry as well. Apply a second coat of color, and while it’s wet, make a dot in a contrasting color near your cuticle, centering it as well as you can. Placing the dot on wet polish creates a smoother surface, but this will also work just fine if you can’t move fast enough or simply prefer waiting until your second coat of color dries–just be aware that your dots may be slightly raised. Do make sure to let your dots dry a bit before applying top coat, so they don’t smear.
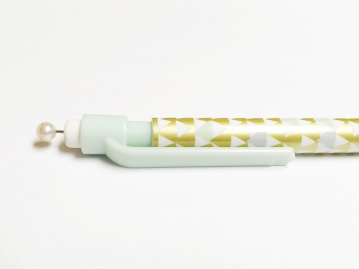
You could buy a special dotting tool for this manicure, but you can also just use a bobby pin like I showed you in my leopard nails post. This time, I wanted bigger dots, so I stuck a glass head sewing pin into the eraser of a pencil and used that. I LOVE saving money by using what I already have!
Of course, for a more festive look, you can put polka dots all over instead of doing just one. You can also experiment with multi-colored dots and different color combinations. Whatever you decide, let us know how it turns out, because WE LOVE THIS STUFF!
-Viv

love it!
LikeLiked by 1 person
This is so simple and creative!
LikeLiked by 1 person
So cute. I really like this look!
LikeLiked by 1 person
So clever!!
LikeLiked by 1 person
So nice! Hey can you share the love and follow me back xx
LikeLike
Great post
LikeLike