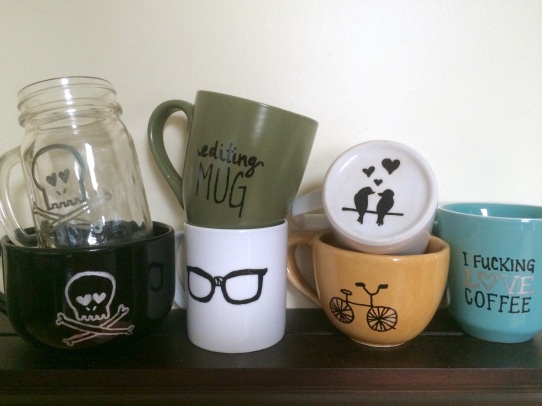
So…Sharpie mugs have exploded on Pinterest, and we’ve been dying to try this project ourselves. In most variations, you write or draw on a mug with a Sharpie Paint pen (oil-based) and bake it in the oven to make the design permanent. There are lots of raves and raspberries about how well (or not) this works, so we were totally intrigued.
Read on to see how it went for us and how you can do it yourself!
-Jen and Viv
*****************************
MATERIALS:
- Mugs
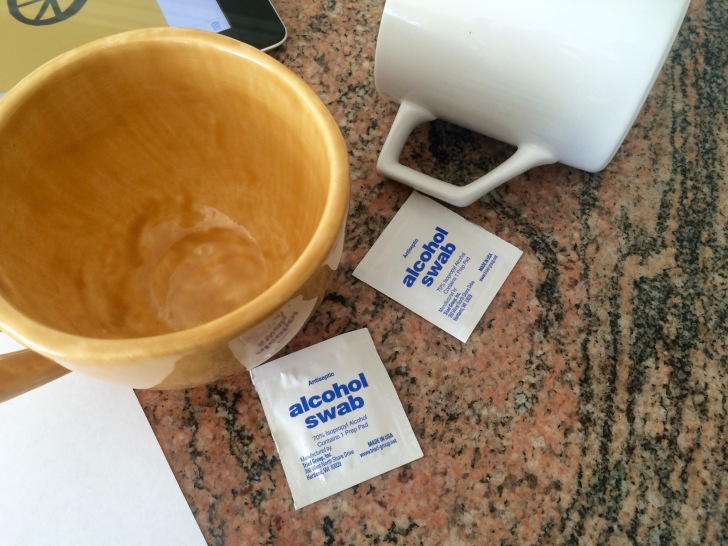
- Rubbing alcohol
- Sharpie Paint (oil-based) or other markers specifically intended for permanently marking on glass or ceramic. Alternatively: a paintbrush and glass or ceramic paint made for home use.
Adapted from: Something Turquoise
DIRECTIONS:
Wash and thoroughly dry your mugs, then wipe down the area you plan to decorate with rubbing alcohol.
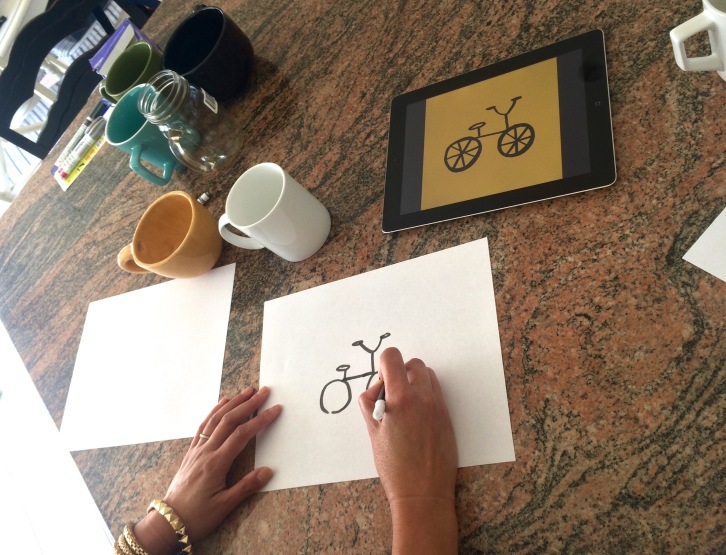
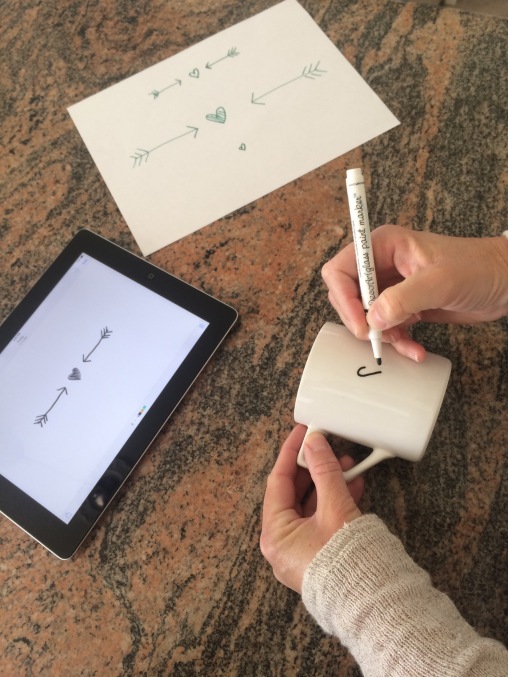
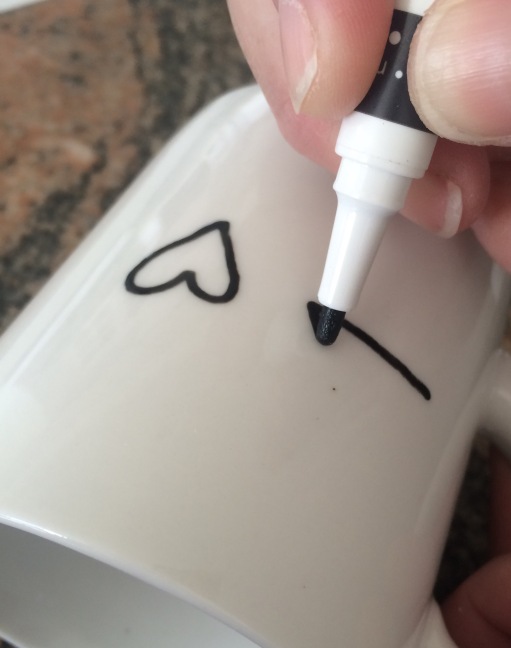
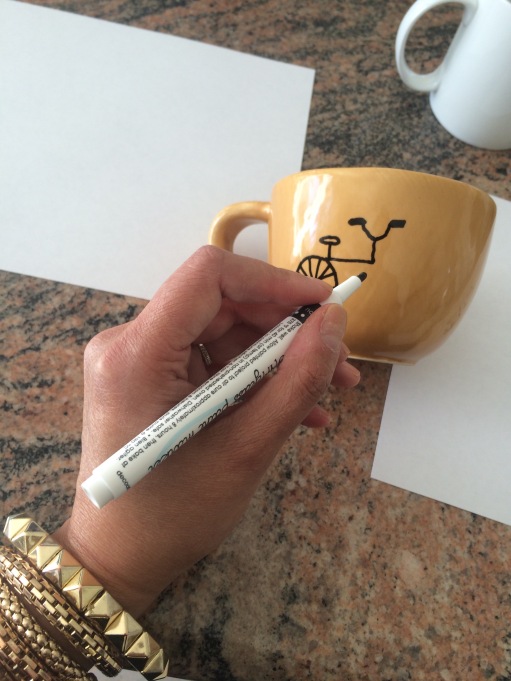
Practice freehanding your text or drawings on scratch paper. It helps if you pick designs that are quirky, so they look like they’re meant to be imperfect (because they are).
When you’re ready, it’s time to decorate your mugs. Don’t worry; you’ll do great! Plus, you can erase any mistakes, or start over completely by just wiping off your designs with some more alcohol. Just make sure not to decorate any areas that will come in contact with beverages.

Let your designs air dry for 72 hours. Apparently this begins to cure the paint, helping to make it permanent.
After air-curing, place mugs on a cookie sheet in a COLD oven, then set the oven to 425 degrees. When the oven has reached 425, bake the mugs for 1 hour, and then turn the oven off. The paint smell can get pretty strong, so it’s a good idea to turn on your exhaust fan and open a window while baking. After you turn off the heat, allow mugs to cool IN THE OVEN completely. This slow process of heating, baking, and cooling is supposed to prevent the mugs from cracking.
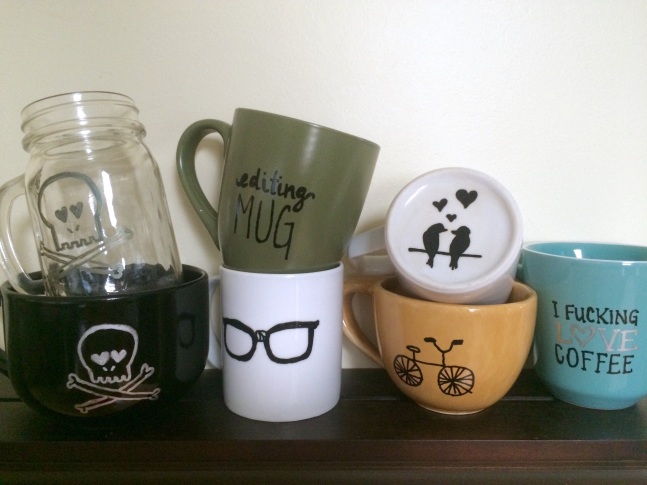
 We used metallic Sharpie Paint markers and a DecoArt Glass Paint Marker and followed the directions from Something Turquoise instead of the directions on the package. Theoretically, these mugs should at least withstand hand washing. Again, we’ve seen mixed reviews on the Internet. Some people say nothing prevents the designs from melting, chipping, or fading. Others say the dry and bake technique works like a charm as long as you use an oil-based paint pen or special glass paint product and don’t put the mugs in the dishwasher.
We’ll report back after our adorable mugs have survived a little wear and tear. We just couldn’t resist the urge to try this for ourselves, and even if it our decorations end up disappearing over time, we’re still glad we tried this project because WE LOVE THIS STUFF!





Nice!
LikeLiked by 1 person
Thanks! Let us know how it goes if you decide to make your own!
LikeLike
Will be trying this. Most glass paint will tell you to avoid the dishwasher though. But another option is trying the paint it yourself places. You can still use a sharpie but then glaze over it and voila you’ve got cute mugs. Either way I’ll be playing with this. Got a friend who throws clay so will be trying the bisque fired stuff too. Ttfm!
LikeLiked by 2 people
Awesome! Let us know how it goes. We’ll update the post when the mugs have been used/washed a few times, too. Thanks for commenting!
LikeLike
I’ve thought about doing this for a long time. So many projects, such little time! 🙂 Your mugs are super cute. Love all your ideas! I agree with you; even if it doesn’t last a long time, you have cuteness for a time. Also you can write on them again! Well done Ladies! Best, Koko
LikeLiked by 1 person
Thanks so much for commenting! We love how they turned out. Make sure to share yours with us if you try it!
LikeLiked by 1 person
Hey! These are cool mugs 🙂 really impressed.
LikeLiked by 1 person
Thank you!
LikeLiked by 1 person
Reblogged this on unminutodeescritura and commented:
I fuckin’ love coffee! 💝
LikeLiked by 1 person
This is an awesome idea, thanks! Hearts and crafts mummy
LikeLiked by 1 person
These are so cute!
Nat x
http://www.natalie-alice.com
LikeLiked by 1 person
Looks like I did mine wrong before following different method
Will try this on though
LikeLike
Let us know how it turned out 🙂
LikeLike
Hey….any update on how the sharpie mugs have survived? ☕️💞
LikeLiked by 1 person
So far, so good! Jen’s has been through the dishwasher several times and still looks new. (I keep forgetting to use mine, oops!) Thanks for dropping by, and for commenting!
LikeLike